Make DIY Wardrobe Boxes for Relocation
Posted on 20/02/2025
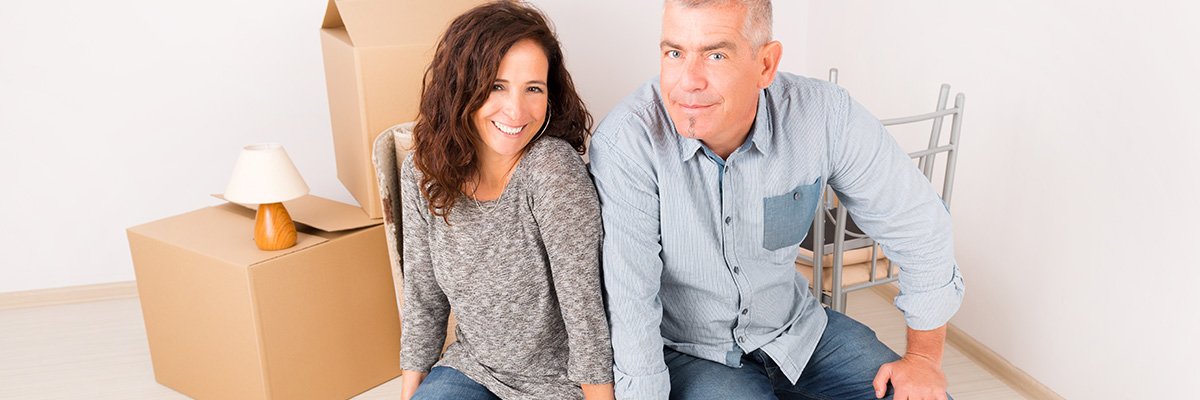
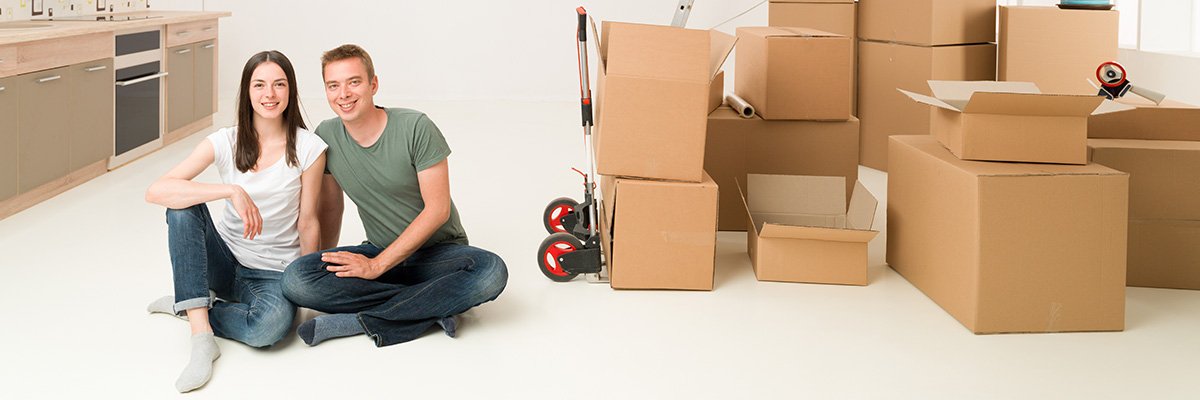
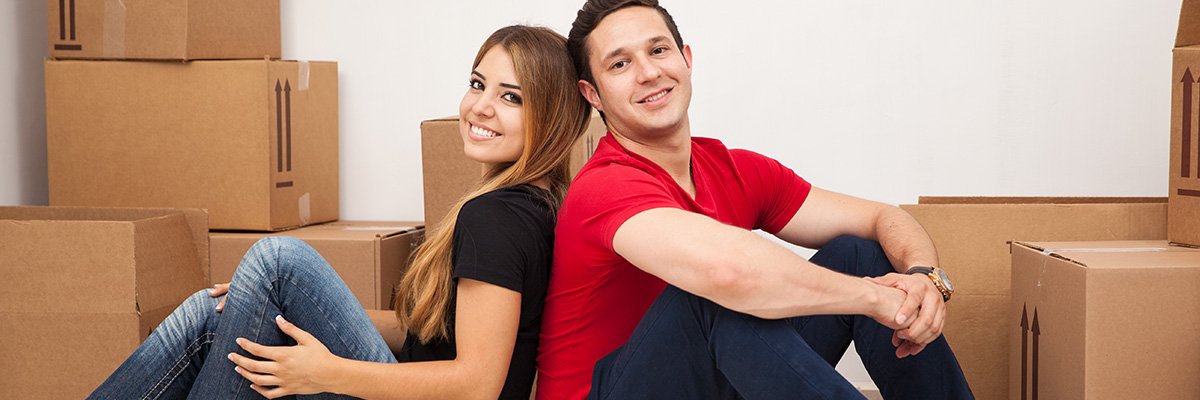
Relocating can be a stressful experience, but with some planning and creativity, you can make it easier. One of the challenges during moving is ensuring your clothes are transported without damage. Instead of spending money on expensive wardrobe boxes, you can create your own DIY wardrobe boxes for relocation. This comprehensive guide will show you how to make durable and practical wardrobe boxes using easily available materials.
Materials Needed for DIY Wardrobe Boxes
To create your DIY wardrobe boxes, you will need the following materials:
- Sturdy cardboard boxes (large size)
- Hangers
- Strong duct tape
- Rope or a wooden dowel
- Box cutter or scissors
- Marker

Step-by-Step Guide to Making DIY Wardrobe Boxes
Step 1: Obtain Sturdy Cardboard Boxes
The first step in making DIY wardrobe boxes is sourcing the right cardboard boxes. You can purchase large, sturdy boxes from a moving supply store or, better yet, recycle some from local stores. Make sure the boxes are clean and in good condition to handle the weight of your clothes.
Step 2: Reinforce the Bottom of the Box
Once you have your boxes, you'll need to reinforce the bottom. Use strong duct tape to seal the bottom flaps securely. Apply multiple layers to ensure that the bottom can hold the weight of your hanging clothes without giving out.
Step 3: Measure and Cut the Hanger Bar
Measure the width of the box inside by placing your rope or wooden dowel across the top. Cut the dowel or tie the rope's ends to fit snugly inside the box. This will act as the hanger bar for your clothes.
Step 4: Install the Hanger Bar
Make small cuts or holes near the top on each side of the box to insert the ends of the dowel or rope. Secure it in place with duct tape. Ensure it is stable enough to support the weight of your clothes.
Step 5: Populate Your Wardrobe Box
Now, you can start hanging your clothes inside the box. Use standard hangers and align your garments neatly on the hanger bar. Don't overstuff the box to avoid wrinkling your clothes or damaging the box.
Step 6: Seal and Label the Box
Once your clothes are securely placed, close the flaps of the box. Use duct tape to seal the box's top securely. Label the box clearly with a marker indicating its contents and the room it belongs to in your new home.
Benefits of DIY Wardrobe Boxes
Making your own wardrobe boxes for relocation comes with several benefits:
- Cost-Effective: DIY wardrobe boxes are a fraction of the cost of buying professional moving boxes.
- Customizable: You can create boxes that fit your specific needs in size and strength.
- Eco-Friendly: Reusing old boxes is better for the environment.
Possible Drawbacks of DIY Wardrobe Boxes
Despite the advantages, there are some potential downsides to consider:
- Time-Consuming: Crafting your own boxes can be time-consuming when you have a lot to move.
- Durability: Homemade boxes might not be as sturdy as commercially-made ones, especially for heavy garments.
- Skill Requirements: If you're not handy with basic crafting, it might be challenging.
Tips for Making Effective DIY Wardrobe Boxes
- Use quality materials: Ensure your boxes and tape are high quality to avoid any mishaps.
- Don't overpack: Keep the weight manageable to ensure the box remains stable during the move.
- Label properly: Clearly mark each box to know where it goes in your new home.
Takeaways
DIY wardrobe boxes are an excellent way to save money and customize your moving experience. With the right materials and a bit of effort, you can protect your clothes during relocation without breaking the bank. Remember to measure accurately, reinforce the boxes, and label everything properly.
Conclusion
Relocating is never easy, but with DIY wardrobe boxes, you can simplify one aspect of the move. While they may require some time and effort, the cost savings and customization options make them a compelling choice for many. By following this guide and keeping our tips in mind, you'll be well on your way to a smoother, more organized move.